Hey there! I'm a mug supplier, and I've seen my fair share of cracked mugs over the years. It's always a bummer when your favorite mug gets a crack, but don't worry – in most cases, you can repair it and give it a new lease on life. In this blog post, I'll walk you through the steps of repairing a cracked mug, and I'll also share some tips on how to prevent future cracks.
Step 1: Assess the Damage
The first thing you need to do is take a close look at the crack in your mug. Is it a small, hairline crack, or is it a larger, more significant crack? If it's a small crack, you may be able to repair it yourself using a simple adhesive. However, if the crack is large or if the mug is made of a delicate material, you may need to take it to a professional for repair.
Step 2: Gather Your Supplies
Once you've assessed the damage, it's time to gather the supplies you'll need for the repair. Here's a list of what you'll need:
- Adhesive: There are several types of adhesives you can use to repair a cracked mug, including epoxy, super glue, and ceramic glue. Choose an adhesive that is specifically designed for the material your mug is made of.
- Sandpaper: You'll need sandpaper to rough up the surface of the mug around the crack. This will help the adhesive adhere better.
- Cleaning supplies: You'll need to clean the mug thoroughly before applying the adhesive. Use a mild detergent and warm water to clean the mug, and then dry it completely.
- Clamps or tape: You'll need something to hold the mug together while the adhesive dries. Clamps or tape work well for this.
Step 3: Prepare the Mug
Before you apply the adhesive, you need to prepare the mug. Here's how:
- Clean the mug: Use a mild detergent and warm water to clean the mug thoroughly. Make sure to remove any dirt, grease, or debris from the surface of the mug.
- Rough up the surface: Use sandpaper to rough up the surface of the mug around the crack. This will help the adhesive adhere better. Make sure to sand in a circular motion to avoid creating any sharp edges.
- Dry the mug: Once you've cleaned and sanded the mug, dry it completely. You can use a clean towel or let it air dry.
Step 4: Apply the Adhesive
Now it's time to apply the adhesive. Here's how:
- Read the instructions: Before you apply the adhesive, read the instructions carefully. Make sure you understand how to use the adhesive and how long it takes to dry.
- Apply the adhesive: Apply a small amount of adhesive to one side of the crack. Use a toothpick or a small brush to spread the adhesive evenly over the surface of the crack.
- Press the pieces together: Once you've applied the adhesive, press the two pieces of the mug together firmly. Make sure the pieces are aligned correctly and that there are no gaps between them.
- Hold the pieces together: Use clamps or tape to hold the pieces of the mug together while the adhesive dries. Make sure the clamps or tape are tight enough to hold the pieces together, but not so tight that they crack the mug further.
Step 5: Let the Adhesive Dry
Once you've applied the adhesive and held the pieces of the mug together, it's time to let the adhesive dry. Here's how:
- Follow the instructions: Read the instructions on the adhesive to find out how long it takes to dry. Make sure to follow the instructions carefully to ensure the adhesive dries properly.
- Be patient: Drying times can vary depending on the type of adhesive you're using and the temperature and humidity of the environment. Be patient and give the adhesive enough time to dry completely.
- Check the adhesive: Once the adhesive has dried, check to make sure it's holding the pieces of the mug together firmly. If the adhesive isn't holding the pieces together, you may need to apply more adhesive and let it dry again.
Step 6: Finish the Repair
Once the adhesive has dried, it's time to finish the repair. Here's how:
- Remove the clamps or tape: Once the adhesive has dried, remove the clamps or tape from the mug.
- Sand the repair: Use sandpaper to smooth out the surface of the repair. Make sure to sand in a circular motion to avoid creating any sharp edges.
- Clean the mug: Once you've sanded the repair, clean the mug thoroughly to remove any dust or debris.
- Test the mug: Fill the mug with water and let it sit for a few hours to make sure the repair is holding up. If there are any leaks, you may need to apply more adhesive and let it dry again.
Tips for Preventing Future Cracks
Now that you've repaired your cracked mug, you'll want to take steps to prevent future cracks. Here are some tips:
- Handle your mugs with care: Avoid dropping or banging your mugs against hard surfaces.
- Use the right mug for the job: Make sure you're using the right mug for the type of beverage you're drinking. For example, use a heat-resistant mug for hot beverages and a cold-resistant mug for cold beverages.
- Don't overfill your mugs: Overfilling your mugs can put stress on the sides of the mug and cause it to crack.
- Store your mugs properly: Store your mugs in a safe place where they won't get knocked over or damaged.
Conclusion
Repairing a cracked mug is a relatively simple process that can save you money and extend the life of your favorite mug. By following the steps outlined in this blog post and taking steps to prevent future cracks, you can keep your mugs in good condition for years to come.
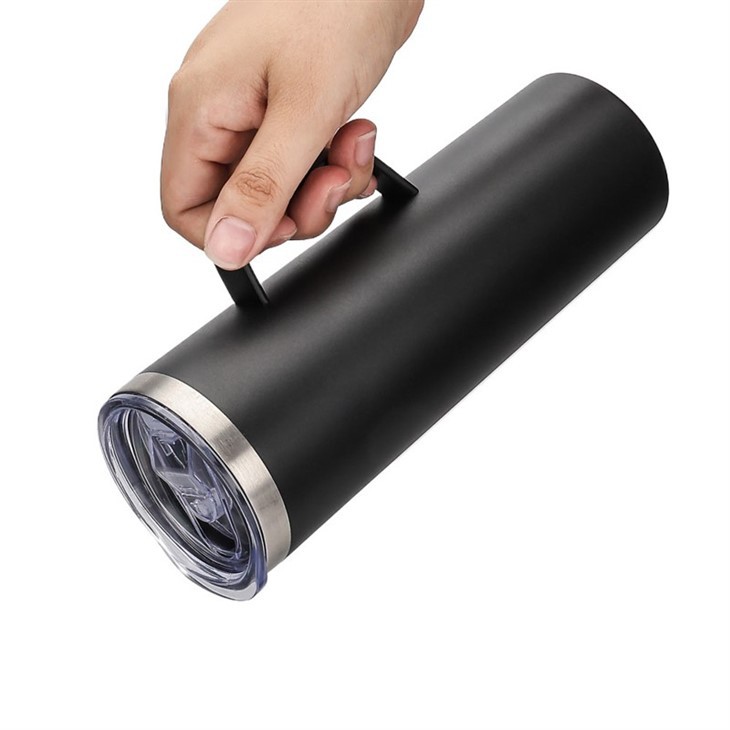
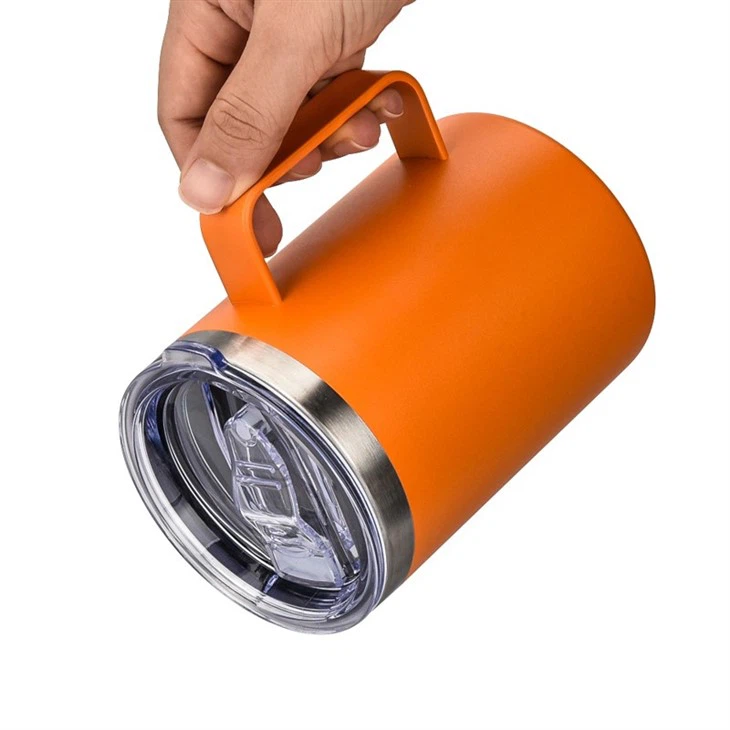
If you're in the market for a new mug, check out our selection of Insulated Mug With Handle, Stainless Steel High Vacuum Mug, and Travel Coffee Mug With Handle. We offer a wide range of high-quality mugs at affordable prices.
If you have any questions about our products or need help with a mug repair, please don't hesitate to contact us. We're here to help you find the perfect mug for your needs.
References
- DIY Mug Repair Guides from Home Improvement Magazines
- Manufacturer's Instructions for Mug Adhesives